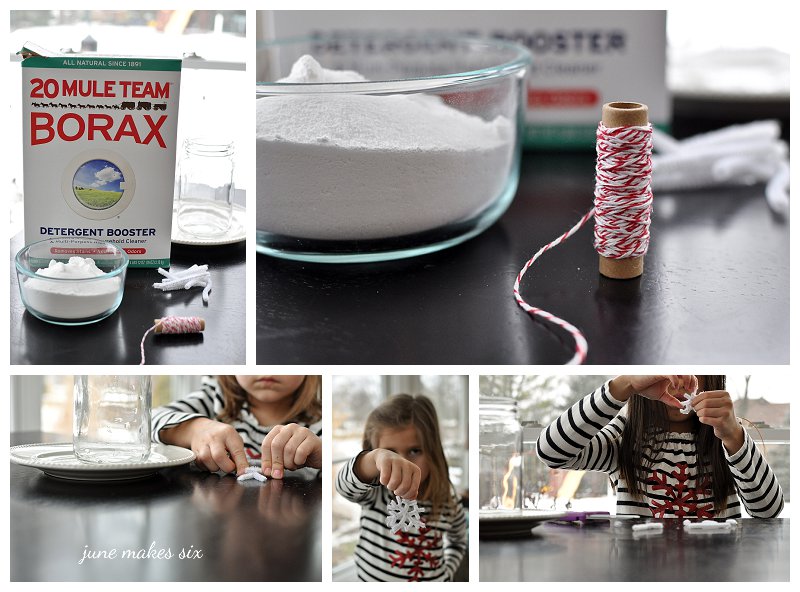
A few weeks ago when June was home sick we decided to spend a little time making "Borax snowflakes". I had seen them on Pinterest a few times and Kendall's preschool teacher had sent home an instruction sheet so we gave it a try.
Our final "snowflake" looked more like a rock, but the girls had a great time and learned something too! Here is what you need and how to do it.
"Borax snowflakes"
Borax
water
pipe cleaners
string
glass jars
pencil/stick
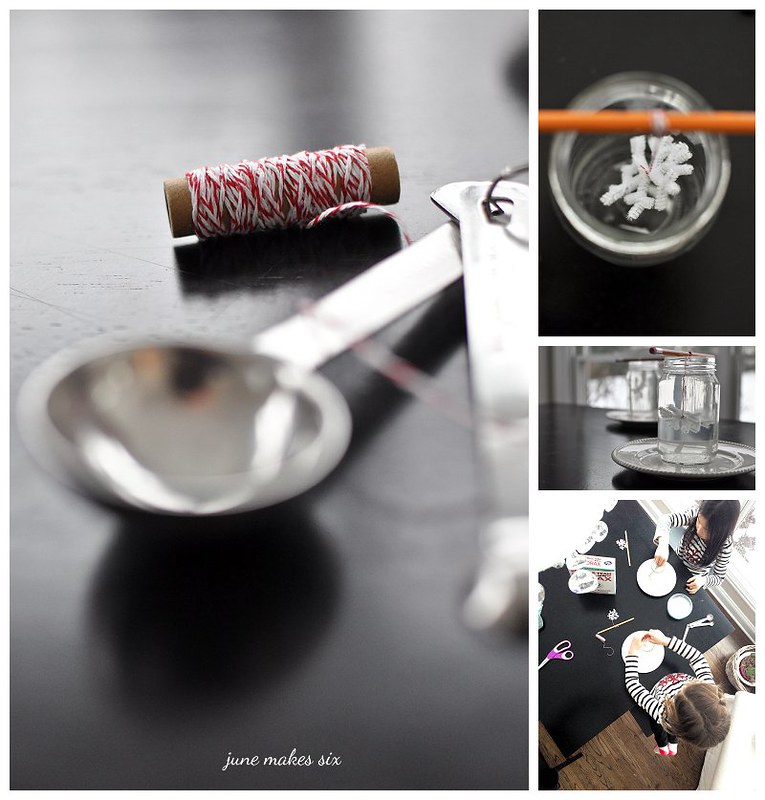
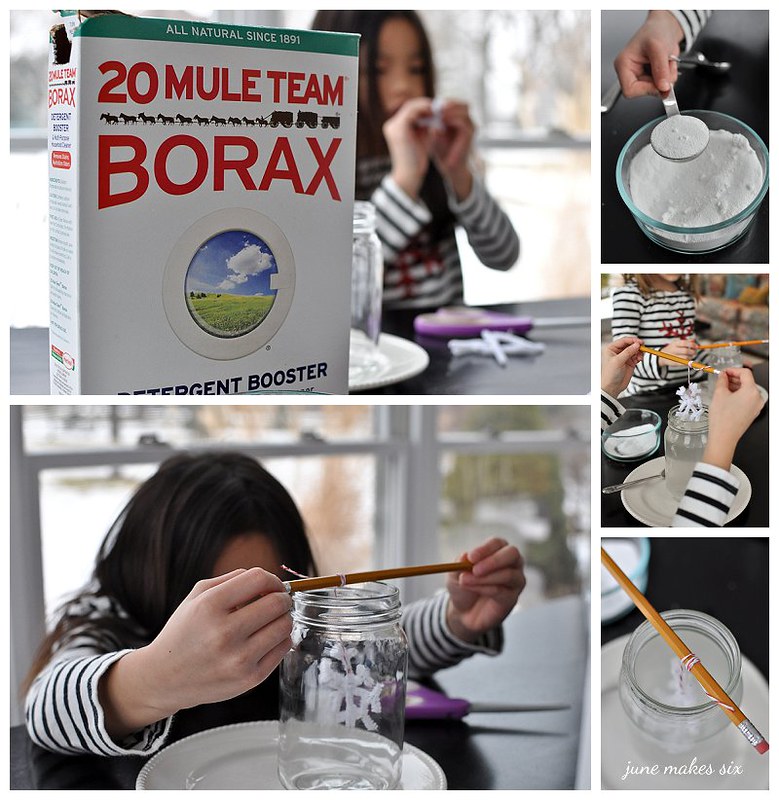
Gather all of your supplies. I cut the pipe cleaners and let the girls make their own snowflakes. I helped the girls tie the string to the snowflakes and figure out how long the string needed to be to suspend the snowflake in the center of the jar, finally I tied it to the pencil. Once they were ready to go I boiled the water and added it to the glass jars. You mix 3 tablespoons of Borax to one cup of boiling water. Add one tablespoonful at a time. The girls gently stirred until all of the Borax was dissolved, then in went the snowflakes. Do not disturb and watch the crystals form...ours started in a few hours. If I had to do it again I would have removed the snowflakes sooner (we left ours overnight) or I would have used larger jars so the spindles of the snowflakes were not so close together. As you can see we did not get a snowflake, but a big ole' rock!
The girls had a great time and overall it was a great science lesson on saturation and crystallization. I would definitely do it again...I have seen a few with red pipe cleaner hearts for Valentine's day.


2 comments:
I bet the girls thought it was pretty cool regardless of whether it was a clump or a snowflake! I'm going to have to give this a whirl :)
So cool! We just did something similar as a science experiment. We just used yarn and salt and it made really cool crystals. One of the moms at Sophia's school said if you use sugar instead of salt it will make rock candy :)
Post a Comment